Custom Drawing
We now discuss how you can manually draw grids to make them look like how you want them in, say, a game via some examples.
Chessboard
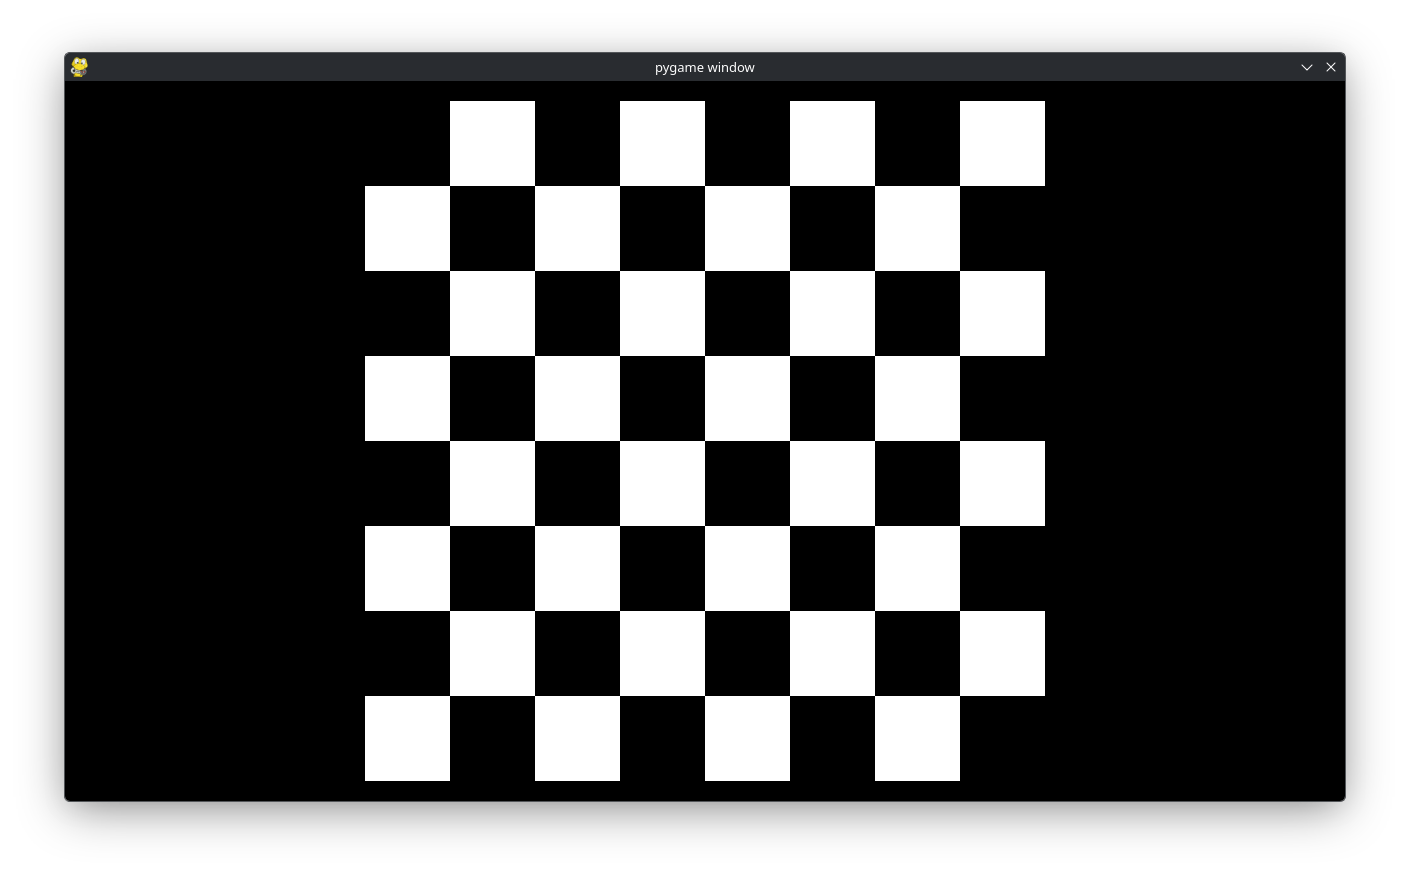
Suppose we want to draw a chessboard for a game that looks like:
First, we recall a previous example:
# Example file showing a basic pygame "game loop"
import pygame
from lpyout import Grid
from lpyout.pygame import screen_wrapper
from lpyout.pygame.render import render_recursive

# pygame setup
pygame.init()
screen = pygame.display.set_mode((1280, 720))
clock = pygame.time.Clock()
running = True

# Initialize grid:
screen_wrapper.update()
grid = Grid.fill_screen(screen_wrapper, 5, 5, m=30)

while running:
    # poll for events
    # pygame.QUIT event means the user clicked X to close your window
    for event in pygame.event.get():
        if event.type == pygame.QUIT:
            running = False

    # fill the screen with a color to wipe away anything from last frame
    screen.fill("black")

    # Render grid
    screen_wrapper.update()
    render_recursive(grid, screen)

    # flip() the display to put your work on screen
    pygame.display.flip()

    clock.tick(60)  # limits FPS to 60

pygame.quit()
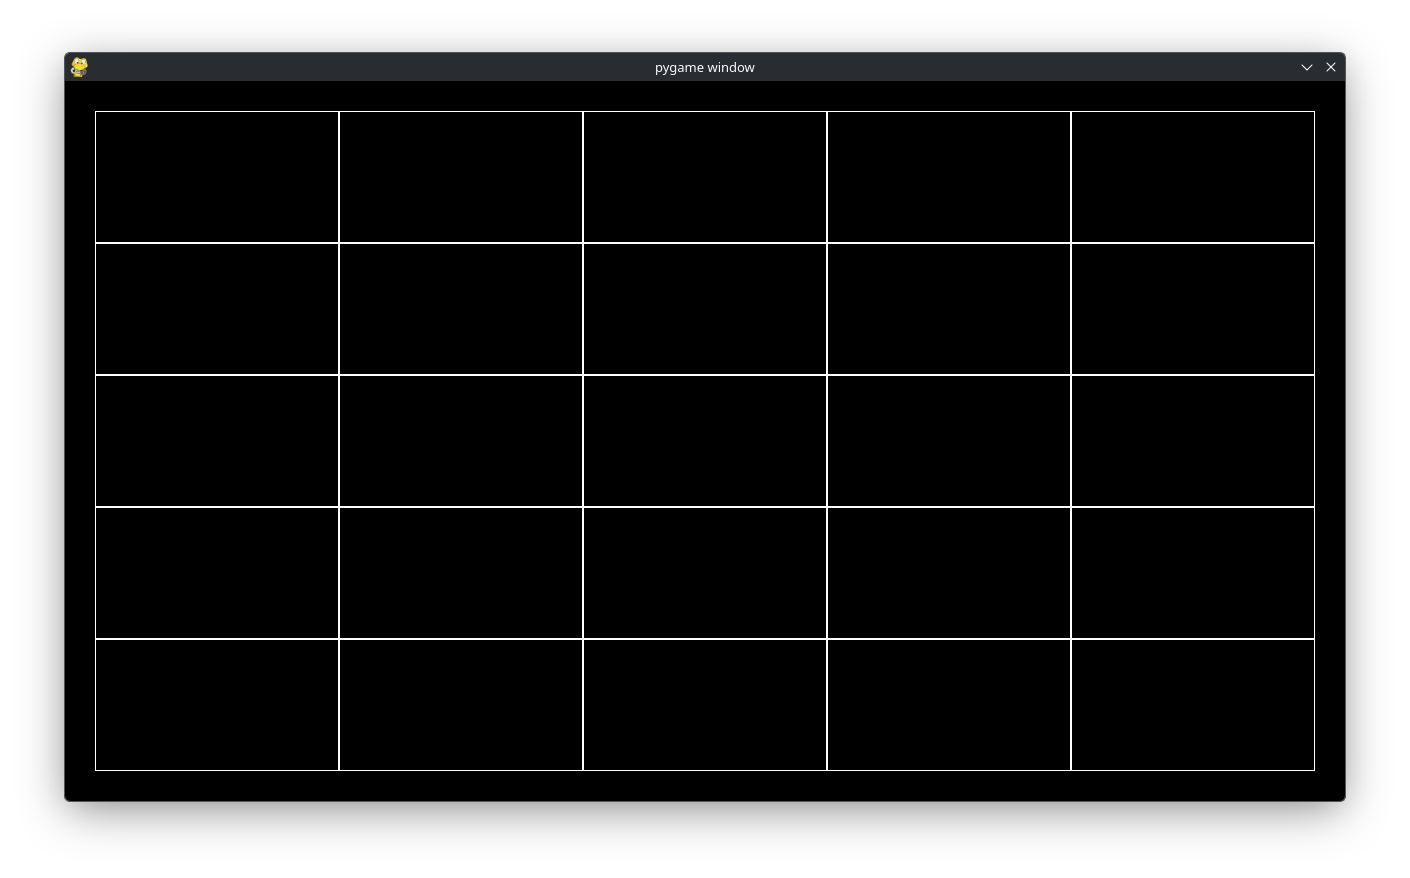
Recall this gives
Our first task will be to make the chessboard a square. To do so, change
grid = Grid.fill_screen(screen_wrapper, 5, 5, m=30)
to
grid = Grid.fill_square(screen_wrapper, 5, 5, m=30)
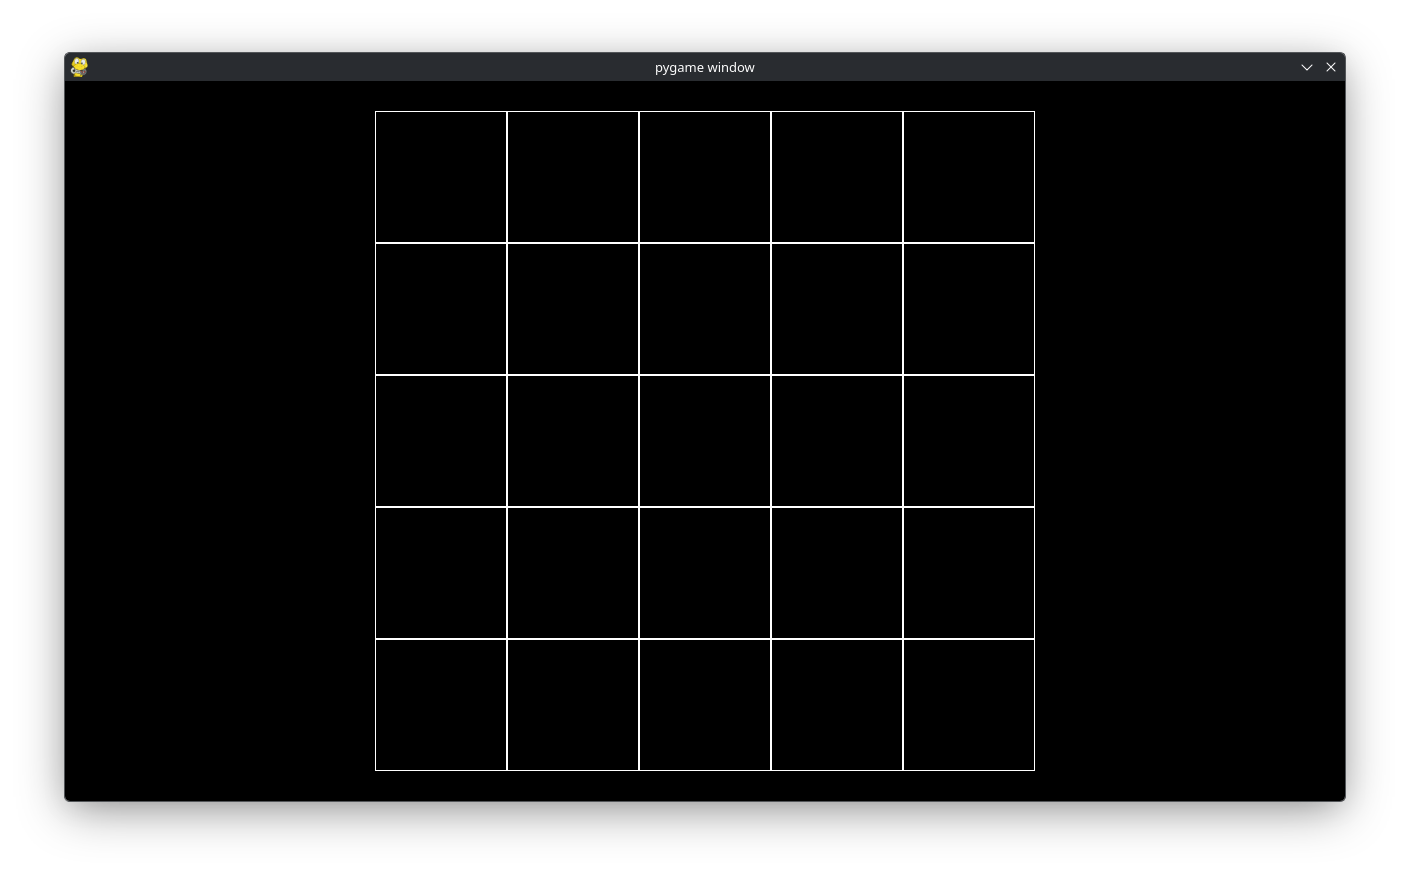
The Grid.fill_square(...) class fills the container (in this case the screen) with a square that is large as possible. This visually gives
Now we come to the custom drawing part. Instead of doing
render_recursive(grid, screen)
we will want to replace this with our own custom function. So replace it with
chess_render(grid, screen)
Or whatever you want to call your custom rendering function. There are a couple ways to implement chess_render we will go over two methods. We define
def chess_render(grid: Grid, surface):
    ...
That is, our chess_render will take in the grid we made and (because Pygame requires it) the surface we want to render it to. In lpyout you can iterate over each subgrid just as you would with a list in Python. So we write
def chess_render(grid: Grid, surface):
    for cell in grid:
        ...
Note
Because our grid only has Cell objects as children, we write for cell in grid:. In general, the children may also be Grid objects too.
There is an easy way to figure out which color each cell should be.
If the sum of the cell’s index in the grid is odd the cell is white.
Otherwise, the cell is black.
Because the background is already black, we can simply ommit drawing when the index sum is even. Thus, chess_render becomes
def chess_render(grid: Grid, surface):
    for cell in grid:
        if sum(cell.index) % 2 == 1:
            rect = pygame.Rect(cell.x, cell.y, cell.w, cell.h)
            pygame.draw.rect(surface, (255, 255, 255), rect, 0)
This gives
as desired.
This method used iteration to create the chessboard. We also illustrate a more functional approach using grid_map. First, do not forget to import grid_map:
from lpyout import Grid, grid_map
Then we may rewrite chess_render as
def chess_render(grid: Grid, surface):
    def render(cell: Cell):
        if sum(cell.index) % 2 == 1:
            rect = pygame.Rect(cell.x, cell.y, cell.w, cell.h)
            pygame.draw.rect(surface, (255, 255, 255), rect, 0)

     grid_map(render, grid)
Recall that, internally, Grid objects are represented as trees with the leaves being Cell objects. grid_map applies a function (in our case render) to each leave of the Grid object. In otherwords, any Cell object that descends from the grid we are mapping over has render applied to it. In code, grid_map is a simple recursive function
def grid_map(f: Callable[[Cell], Any], grid: Grid):
    if isinstance(grid, Cell):
        f(grid)
    else:
        for subgrid in grid:
            grid_map(f, subgrid)
but it is so useful, we provide it for you.