The Basics: Getting a Grid (Pygame)
Consider the following introductory example from Pygame-ce:
import pygame

# pygame setup
pygame.init()
screen = pygame.display.set_mode((1280, 720))
clock = pygame.time.Clock()
running = True

while running:
    # poll for events
    # pygame.QUIT event means the user clicked X to close your window
    for event in pygame.event.get():
        if event.type == pygame.QUIT:
            running = False

    # fill the screen with a color to wipe away anything from last frame
    screen.fill("purple")

    # RENDER YOUR GAME HERE

    # flip() the display to put your work on screen
    pygame.display.flip()

    clock.tick(60)  # limits FPS to 60

pygame.quit()
It currently displays a purple screen. Let us adapt this to draw a (5, 5) grid across the entire screen. We start of with some imports:
from lpyout import Grid
from lpyout.pygame import screen_wrapper
from lpyout.pygame.render import fast_render
The first import gives us the ability to create Grid objects. Each Grid object should be contained in a Screen (that is, the actual viewport, such as a window). We provide some defaults for pygame. The second import gives us the entire window created by pygame. Lastly, a Grid object just stores coordinates, so we implement some basic rendering routines for pygame that actually let you display the grid.
Now, after running = True add:
screen_wrapper.update()
grid = Grid.fill_screen(screen_wrapper, 5, 5)
screen_wrapper.update() gets the dimensions of the current pygame window. Because there are so many ways to make a grid, we have various class methods that act as simplified constructors. fill_screen makes the grid fill the specified screen (which in our case, fills the window).
Now, replace screen.fill("purple") with screen.fill("black") and right below it add:
# fill the screen with a color to wipe away anything from last frame
screen.fill("black")

# Render grid
screen_wrapper.update()
fast_render(grid, screen)
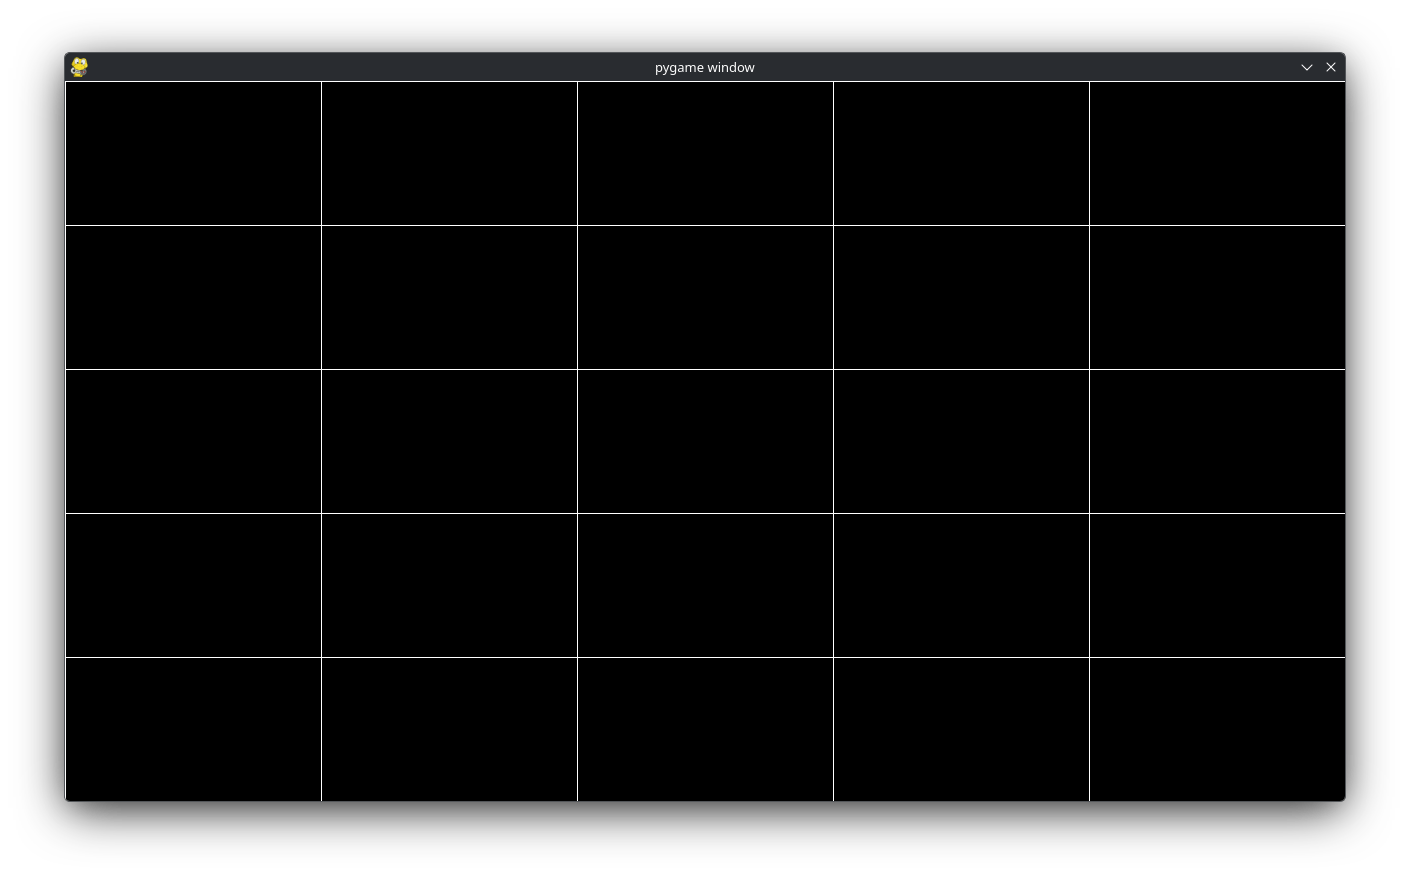
Like above, in case the window changes size, we .update the screen_wrapper object. Lastly, we make a call to fast_render(grid, screen) to actually render the grid! You should get a screen that resembles:
Margins
Full screen is nice, but a lot of interfaces do not operate on precisely fullscreen. Instead, there might be a little nudge to make it a bit smaller (or larger) depending on what we want. There are a couple ways to deal with this, let’s focus on margins. Change:
grid = Grid.fill_screen(screen_wrapper, 5, 5)
to:
grid = Grid.fill_screen(screen_wrapper, 5, 5, m=30)
This will change the grid to:
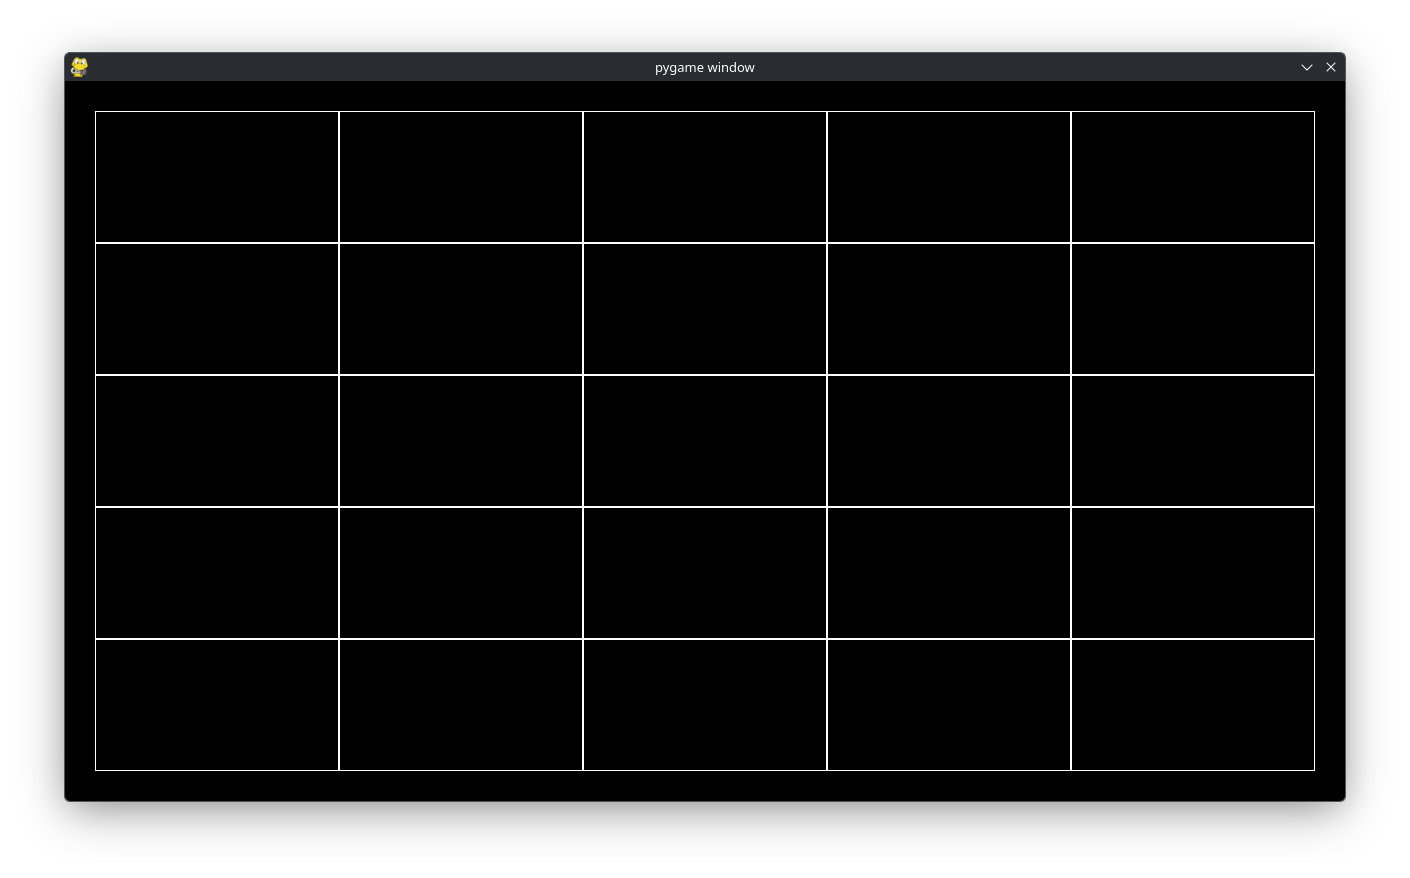
What did we do? We created a grid that was fullscreen and by specifying m=30 we said shrink each side of the grid by 30px. Internally, setting m=30 changes the x, y, w, and h of the grid we made.
Important
grid.x, grid.y, grid.w, and grid.h always reflect the raw coordinates after applying margins to the grid.
Padding
Padding is related to margin. As mentioned before, margin changes the grid’s x, y, w, and h. Padding on the otherhand, changes the children x, y, w, and h. The distinction is exceptionally important for fast_render because fast_render only uses the grid’s x, y, w, and h to render the grid. Thus, changing
grid = Grid.fill_screen(screen_wrapper, 5, 5)
to
grid = Grid.fill_screen(screen_wrapper, 5, 5, p=30)
will render like the very first example (i.e. completely fullscreen). To rectify this, we can use render_recursive instead of fast_render. render_recursive renders each individual Cell as a square. Furthermore, when we run Grid.fill_screen(...) we create a grid with 5 x 5 = 25 Cells. render_recursive finds every cell in a grid and performs some operation based on the cell and not the parent grid. We will cover this more in detail why this is important. But switching out fast_render with render_recursive will give:
In essence, visually the same thing as the previous example, but internally, the coordinates are different. For the previous example, the parent’s coordinates and dimensions are modified (indirectly modifying the children), in this example only the children coordinates are modified and the parent’s coordinates and dimensions remain the same.
Spacing
We mention one final common transformation: spacing. Currently each cell touches each other cell, but sometimes we want spacing between each cell. This can conveniently be done with the s keyword argument. From the previous example, change
grid = Grid.fill_screen(screen_wrapper, 5, 5, p=30)
to
grid = Grid.fill_screen(screen_wrapper, 5, 5, s=30)
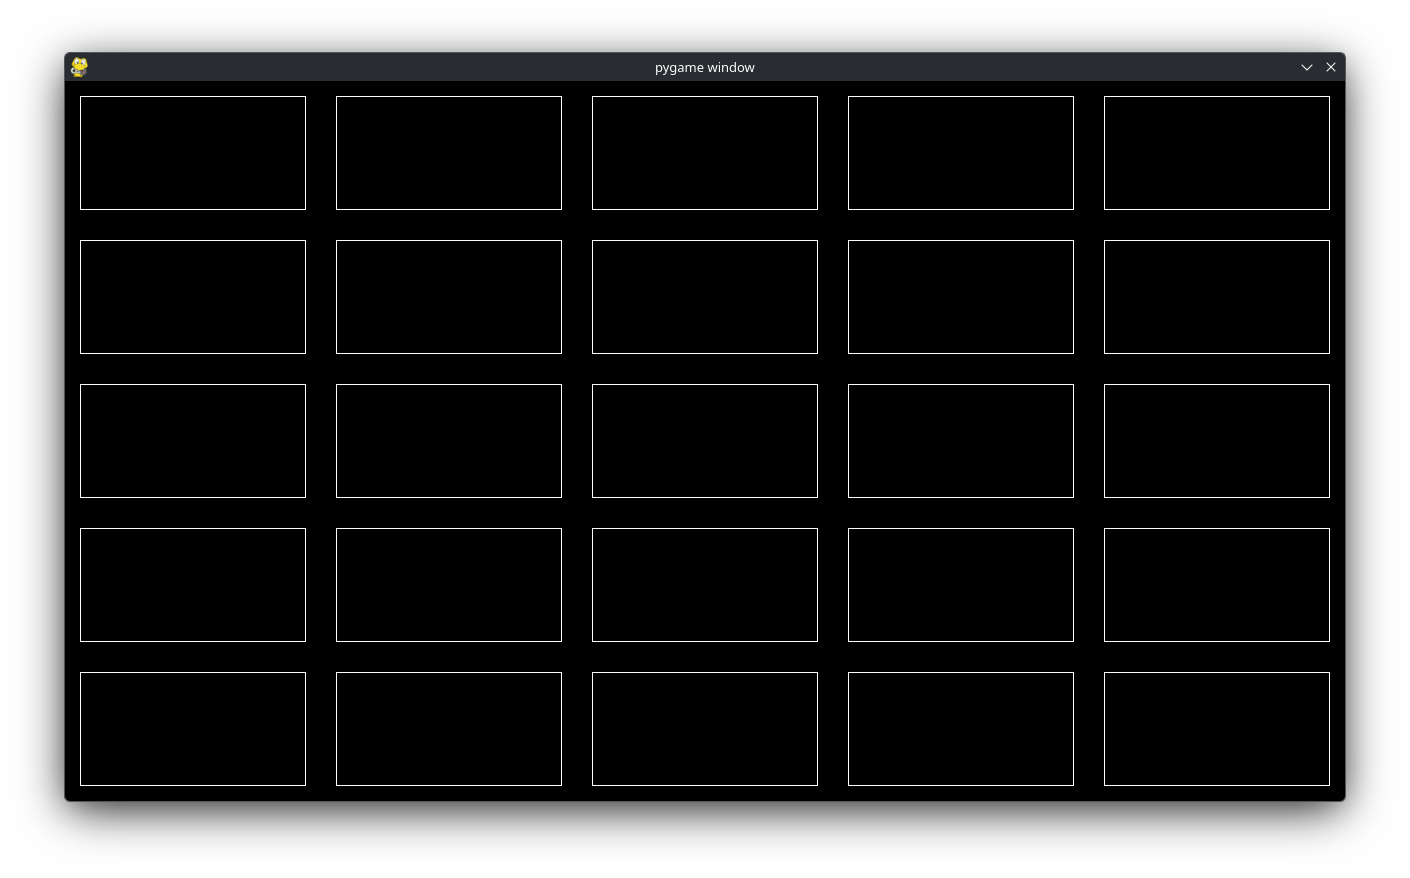
this will give 30/2px = 15px of spacing around each side of each cell. Visually, we get: